

HostedScan has an MCP server at https://api.hostedscan.com/mcp. MCP (Model Context Protocol) is the standard that AI assistants such as Claude, ChatGPT, and Cursor use to connect to other services. Once connected, your assistant can look up your targets, scans, scheduled scans, and risks. If you give it read and write access, it can also start scans.
MCP is included in the Premium plan, every higher plan, and the free trial.
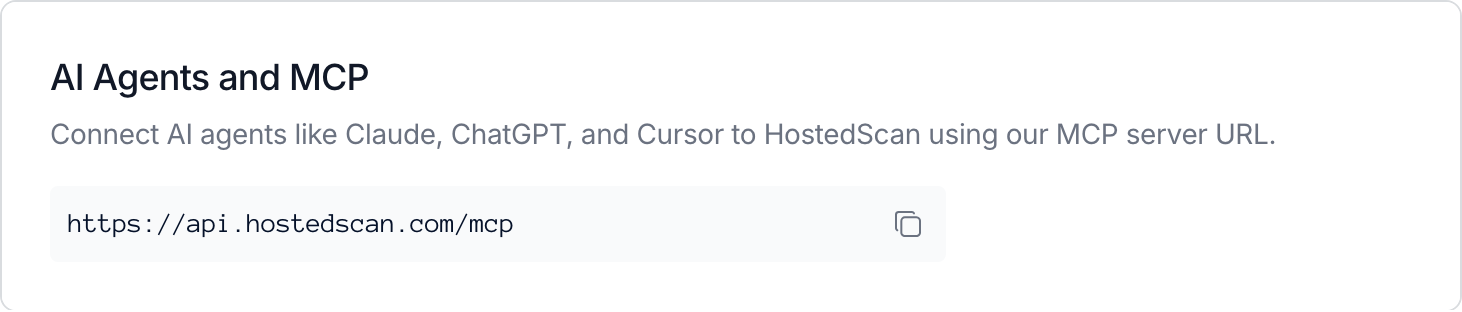
You can copy the server URL from the AI Agents and MCP card on the API & Webhooks settings page.
Claude
In Claude, open Customize, then Connectors. Select + Add, then Add custom connector.
Enter
HostedScanas the name andhttps://api.hostedscan.com/mcpas the URL, and select Continue. Select Continue again to keep the detected sign-in settings.Under Authentication, choose Sign in now, and select Add. Claude opens HostedScan, where you sign in and approve the connection.
On a Claude Team or Enterprise plan, an owner of your Claude organization adds the connector for everyone. The owner opens Organization settings, then Connectors, and selects Add, then Custom, then Web. The owner then follows steps 2 and 3. Each member then opens Customize, then Connectors, and selects Connect on the HostedScan connector.
Claude Code
The HostedScan plugin adds the HostedScan MCP server and two skills to Claude Code. A skill is a ready-made task that you can ask Claude Code to run. One skill scans a target and summarizes the results. The other summarizes the open risks and the targets with the lowest health grades. To add the plugin, run:
Shell/plugin marketplace add hostedscan/mcp
/plugin install hostedscan@hostedscan
You can also add the server without the plugin:
Shellclaude mcp add --transport http hostedscan https://api.hostedscan.com/mcp
After you add the plugin or the server, run /mcp in Claude Code, select the HostedScan server, and sign in. Claude Code lists the server from the plugin as plugin:hostedscan:hostedscan, and the server from claude mcp add as hostedscan.
Cursor
Add the server to .cursor/mcp.json in your project, or to ~/.cursor/mcp.json for every project:
JSON{
  "mcpServers": {
    "hostedscan": {
      "url": "https://api.hostedscan.com/mcp"
    }
  }
}
Cursor opens HostedScan to sign in the first time it uses the server.
Other assistants
Any assistant that supports remote MCP servers with OAuth sign-in can connect with the URL https://api.hostedscan.com/mcp.
Approve the connection
When you connect an assistant, HostedScan shows a page where you choose what the assistant can access:
Account: this menu appears when your workspaces belong to more than one HostedScan account. Choose the account to connect. One connection can access the workspaces of only one account.
Workspaces: select the workspaces that the assistant can access. Select all selects every workspace in the list.
Access: choose Read only to let the assistant view targets, scans, scheduled scans, and risks. Choose Read and write to also let it start scans.
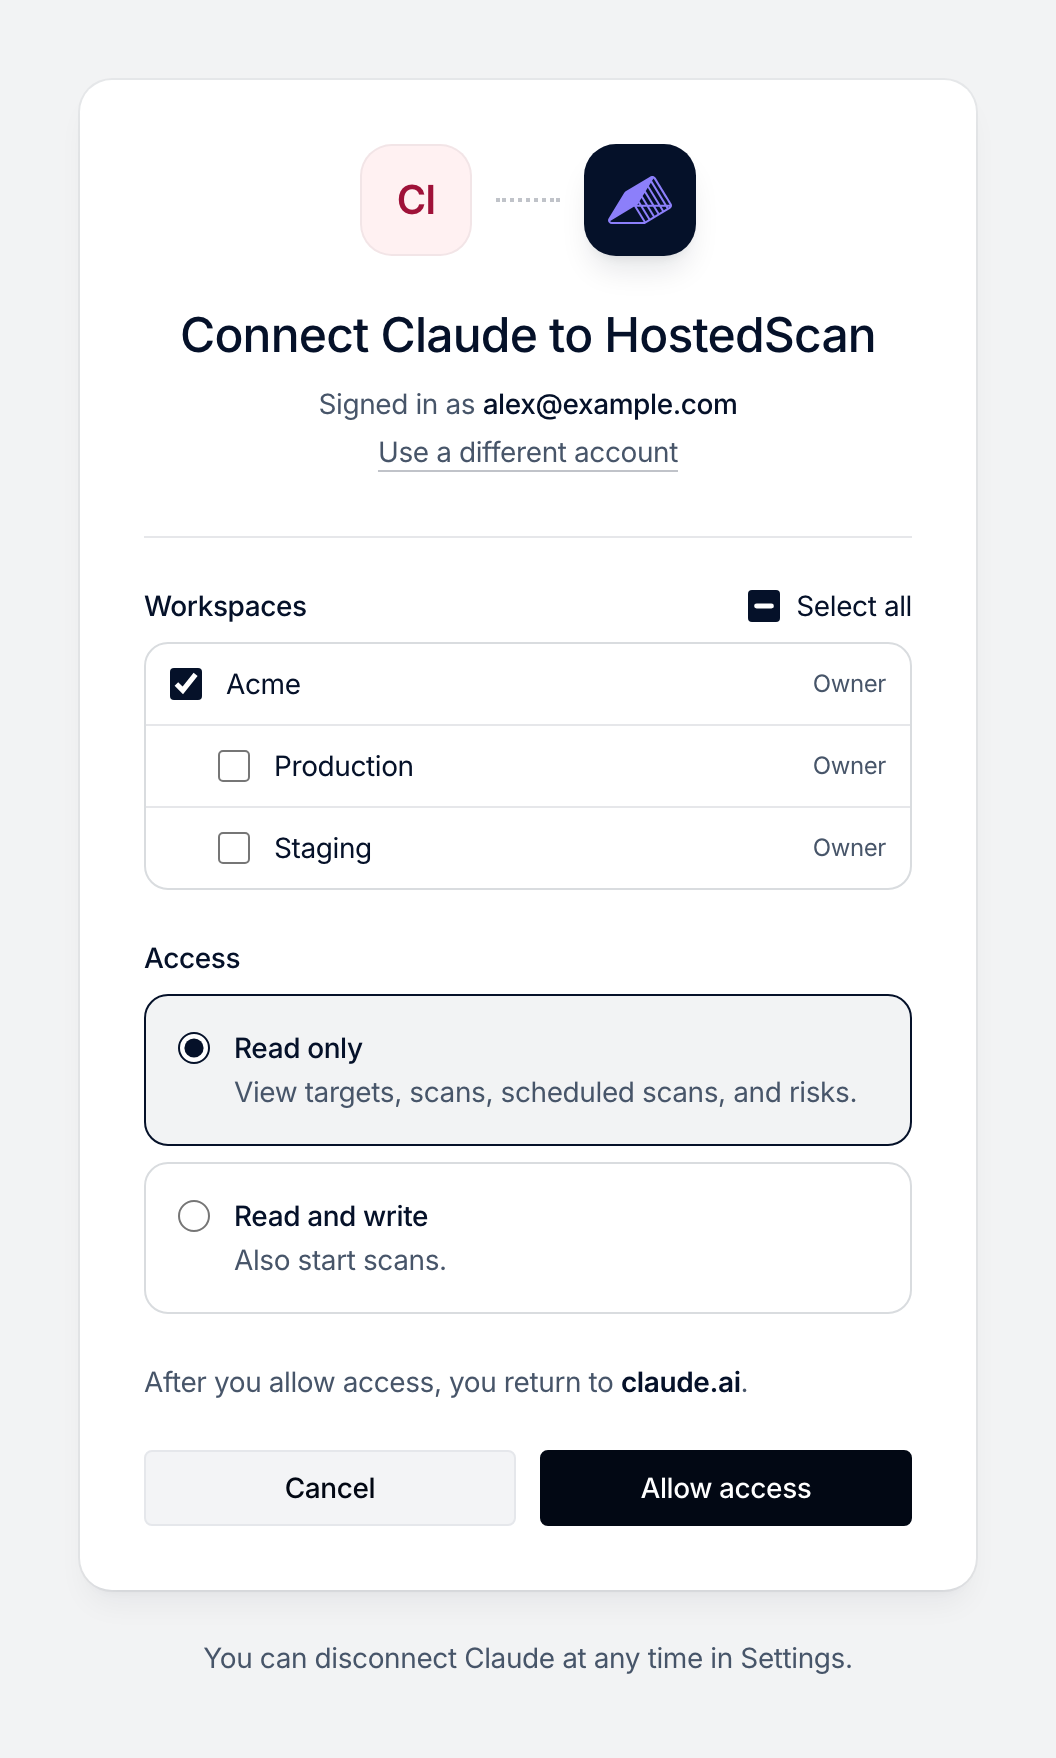
Select Allow access to finish. The assistant then works with the workspaces and access that you approved.
Connect with an API key
An assistant can also connect with an API key instead of signing in. Create a key on the API & Webhooks settings page. Then set the assistant to send the key in the Authorization header as Bearer <your API key>. For example, in Claude Code:
Shellclaude mcp add --transport http hostedscan https://api.hostedscan.com/mcp --header "Authorization: Bearer <your API key>"
An API key has read and write access to the workspace where you created it.
Example prompts
"Which of my targets have open critical or high risks?"
"Run a port scan on my target example.com and tell me what it finds."
"Which of my targets have the lowest health grade, and how do I fix their worst risks?"
Disconnect an assistant
The Connected Applications list on the API & Webhooks settings page shows the assistants that connected by signing in.
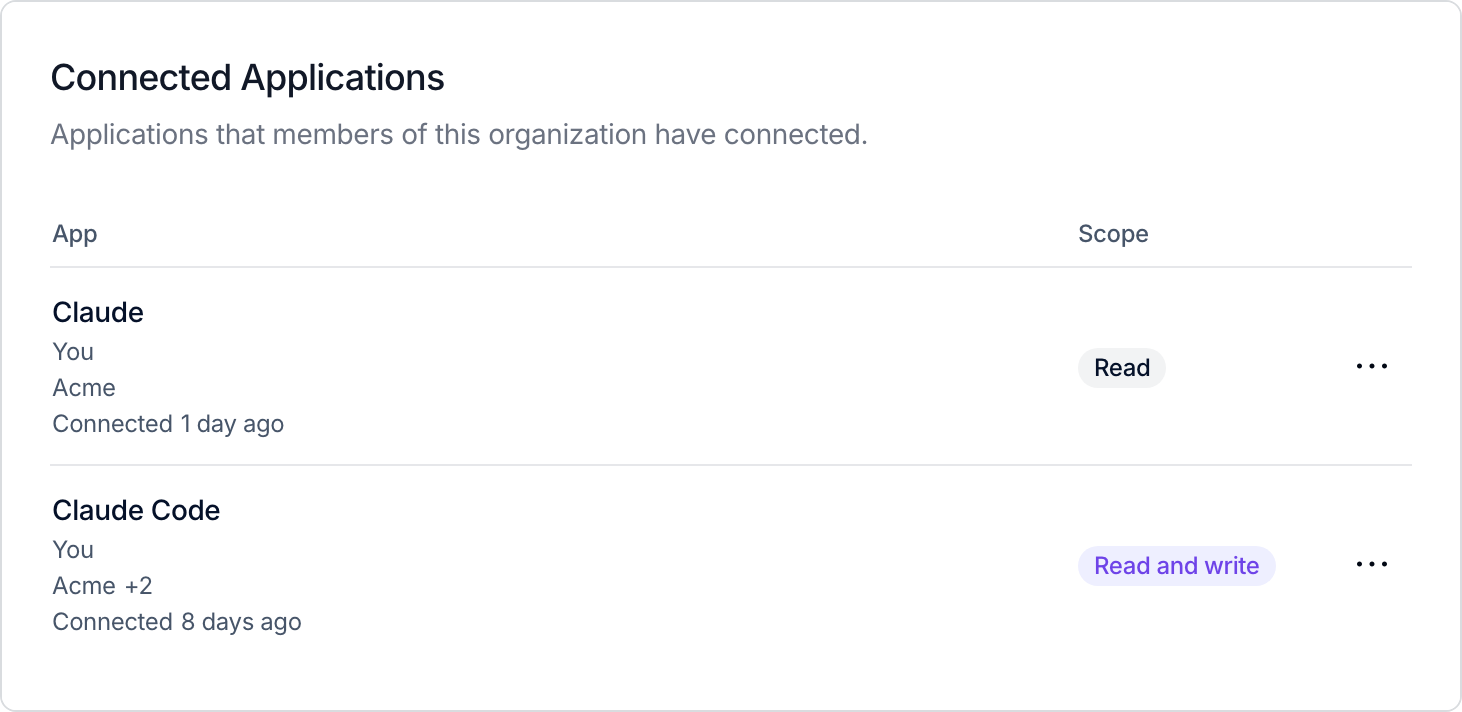
To remove a connection, open the actions menu on its row, select Disconnect, and confirm. The assistant loses access right away.
An assistant that connects with an API key does not appear in this list. To disconnect it, open the actions menu on the key's row in the API Keys list on the same page, select Remove, and confirm. Every other assistant, script, or integration that uses this key also loses access.